Finding sufficient farm labor has been a problem pre- and post-pandemic. Whether you have some, or a lot of difficulty finding permanent and temporary ag workers, a few tips could help you attract and keep qualified workers at your operation. We work with growers of all shapes, sizes, and crops. Here are a few suggestions from them that may help some of your labor pains.
Pay by Weight
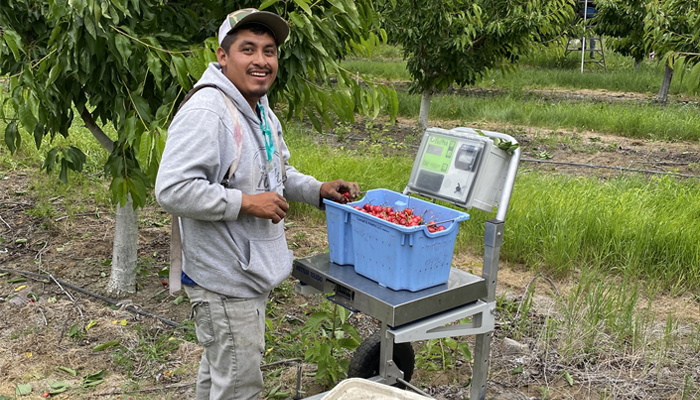
If you are not paying by weight for your high-value crops, this may appeal to temporary workers who harvest fruits and vegetables. In 2020, a blueberry grower in Georgia implemented the FairPick scale systems for their harvest. After encountering some bottleneck issues (weighing does take a little bit more time), the grower decided to take the scales out of operation. Instead, they used the FairTrak app with handhelds to only log and pay by the bucket. Although harvest was smooth, it was not long before we heard that scales will be put back out in the field in 2022. Why? The pickers are almost demanding it. They like the FairPick’s transparency and its accuracy. No questions about full buckets, no favoritism, and still simple to use. Although there is an upfront investment, the system often pays for itself in a season because of the labor savings. Happy workers are a bonus, which leads me to…
Offer Bonuses
It is not new for growers to offer bonuses on top of regular piece wage or hourly earnings. Several growers went one step further this harvest to offer bonuses on piecework only if the employee stayed to the last day of harvest. This final day work requirement was a great incentive to stay at one farm. For the grower, picker reliability increased, and knowing that the same people would keep coming back each day was much-needed peace of mind. This attendance bonus was an extra rate per pound or piece harvested that was added onto the final paycheck, but only if the employee met the last day criteria. Employee turnover costs time and money and ready-to-pick produce just cannot wait on the bushes or trees.
Make the Job Easier
We have all heard the saying, “Work smarter, not harder.” Implementing time-saving tech and automation not only improves efficiency (you get more done faster) but makes the job easier. An employee is more likely to do a job that requires less know-how, less physical exertion, and is simple to do. For most of us, using a smart phone is second nature. In a time where “there’s an app for that,” it might be time to explore technology “shortcuts” that make a worker’s job easier to do, whether that be in the field or in the office. Minimize manual data entry, paperwork, and streamline communication. Even start thinking about new ways to make finding a job at your farm easier. There are several digital platforms out there now that better connect farmers with farm workers.
There is no cure all for the labor pains that the ag industry continues to face. Like any business, you can take small steps to make your farm more desirable—besides increasing base hourly and piece wages. Start getting creative and find the right tools and incentives for the job.
In this blog post, I have the privilege of sharing insight about composting from Brent McGlashen of New Zealand's Mac Hops Farm, Brent is a proponent of using PLA or bioplastic twine in lieu of traditional plastic string or coir in hops production. Several years of collaboration with a PLA manufacturer has produced string specifically for the hops industry. According to Brent, this string is, "exceptional in our compost system. I have turned this year’s pile twice and after 30 days, about 80% of it had vanished." Brent, knowing well that many hops growers in the Pacific Northwest use coconut coir for twining, noted that if growers in "[that] part of the world" change to bioplastic string, "then they really will appreciate how much of an asset this exceptional compost is.” Here are Brent's words of wisdom about the benefits of composting for a hops operation and why choosing the right twine is important for the process. ____________________________
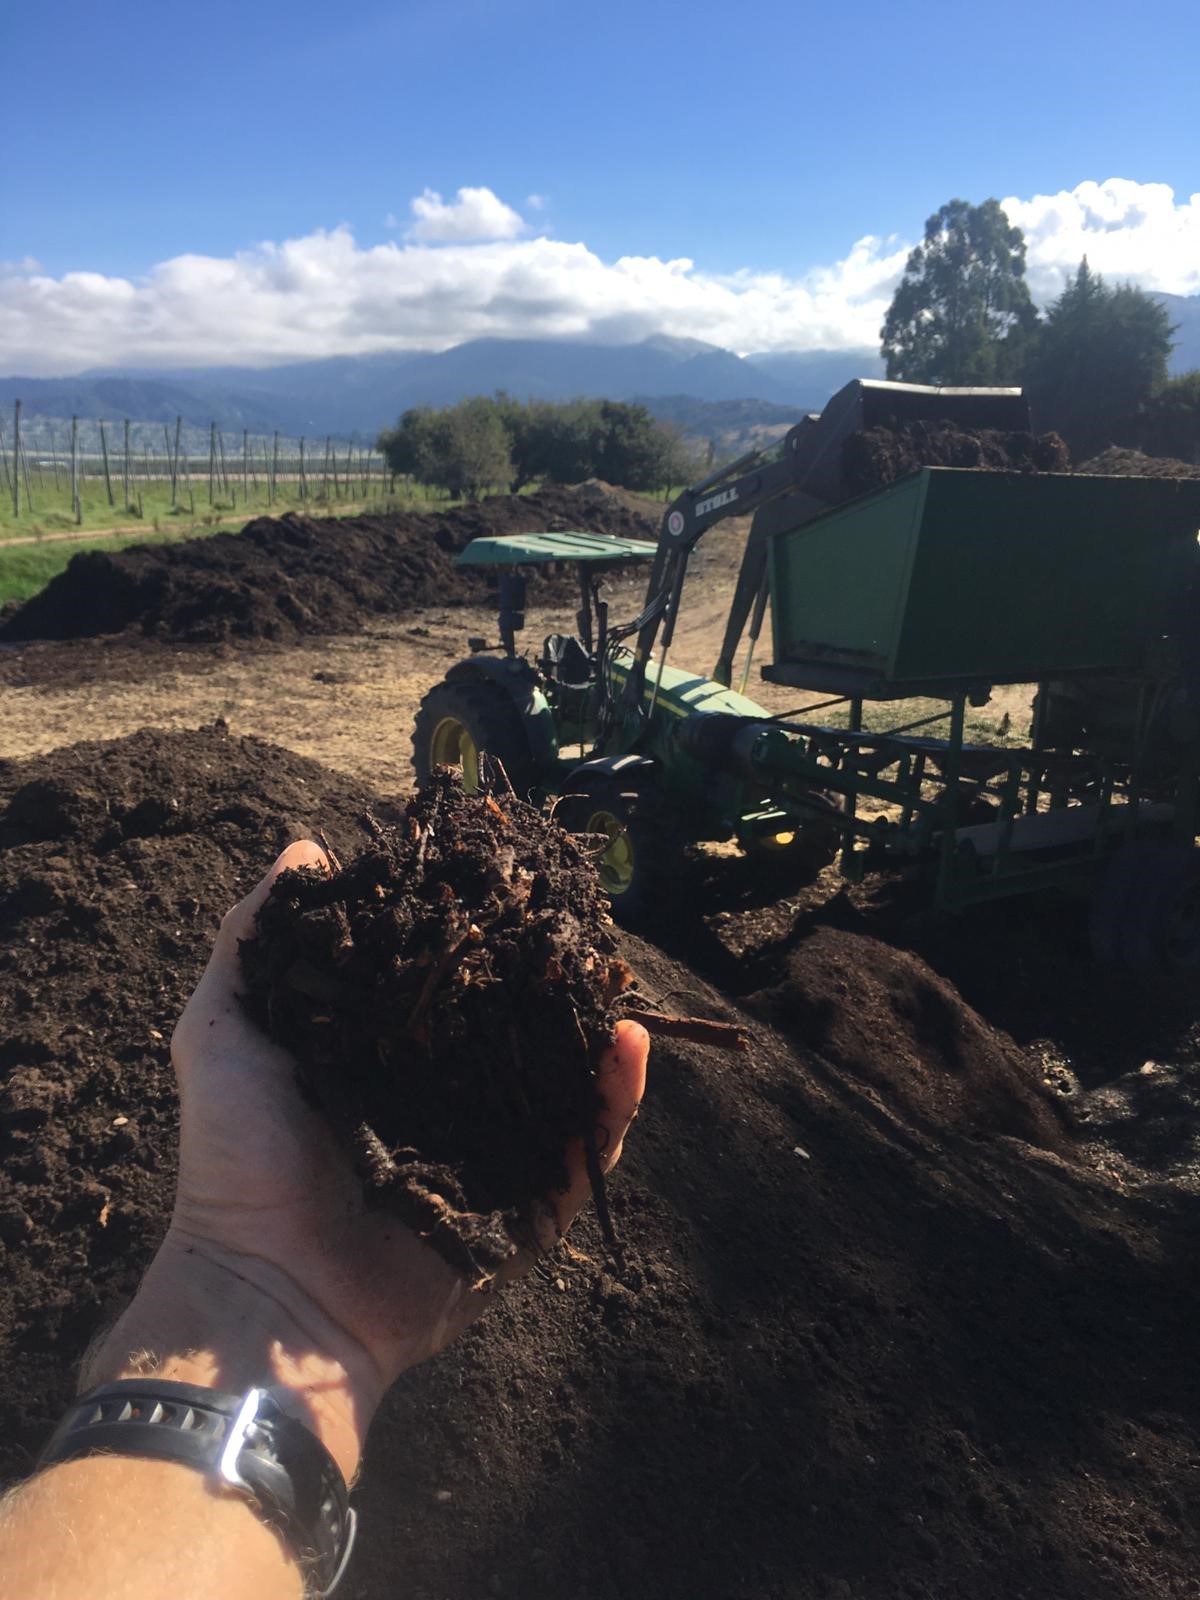
Composting has been an important part of our farming system ever since machine harvesting first started. We purchased a guillotine chopper component to our Bruff Hop Picking machine back when it was installed in 1963. The only problem was, we didn’t have a powerful enough tractor to turn the compost, so it took a long time for it to completely compost. Nowadays, we have our big 20-ton digger that turns our full year’s crop in a couple of hours!
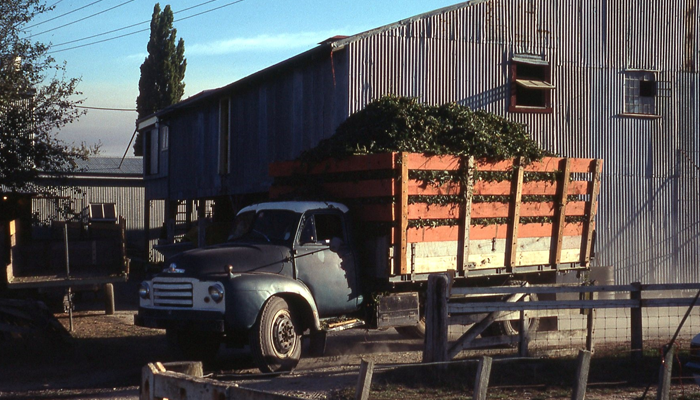
At the time of the first hop machines, often it was the last thing to think about in the process was what to do with the end product termed ‘The Waste’. A majority of growers would just spread the material green back out onto their fields. This practice is still done today as growers perceive that the benefit to having compost doesn’t add up to the land use for your composting pile or the cost of doing it. Over the many years we have certainly proved to ourselves and others who have seen what we can achieve by utilising this so called ‘Waste product’ and turning it into a big benefit for our farming system. Some of our hop fields have been cropping hops continuously now for 70+ years, and still producing towards the top end in the yield statistics. You don’t get these results by mistreatment of your plants and soils.
The hop bine, as everyone knows, is a very bulky plant that has a relatively low yield in weight of cones vs greenery. All this material has had to use an extensive amount of soil nutrients and applied nutrients to sustain its rapid growth rates to carry the crop through till harvest. Now just think about it, these nutrients don’t just disappear into thin air as soon as the hops are stripped off the bines when going into the machine. So why not capture as much of that goodness as possible to use in the future as a merry-go-round of the nutrient cycle.
The biggest challenge we have faced in our composting system has been the string. After years and years of manually pulling the sting out by hand after each tractor bucketload, things had to change as we got more compost. So, we acquired a screener. This works very well to separate the earthy compost material from the string, but the compost needs to be relatively dry. Here in New Zealand, we get a lot of rain so some years we can only process the compost for several weeks. So, we needed to find a hop compostable string. We (Mac Hops) have been trialing different string products from all around the world for many, many years now. Little did we know, the best product was about to turn up on our doorstep from here in New Zealand.
We have been working with Joe Wiid from Extrutec Ltd. for the last three years now. We have never had the actual producer of the string spend time on our farm with our stringing crews learning what they like and don’t like about the string. Then, to go away and give us several prototypes that we can trial and evaluate, and even follow this through to the compost pile to test composability. We now string our whole farm in the product that Joe has made us.
In New Zealand we have three string products on offer:
Plastic Type Twine: Very strong and holds up to many of our New Zealand weather challenges but doesn’t breakdown in composting.
Coir: Expensive to buy in small quantities for the smaller farm sizes in New Zealand, doesn’t suit our thinner grade wire when we use vine pullers for machine harvest, requires a lot of labour to erect, takes a very, very long time to breakdown to the point the compost is getting too old to be effective.
Extrutec Ltd. Hop Compostable String: Breaks down in the heat from the compost pile (within 30-90 days!), the easiest string to apply for our hand tying crew.
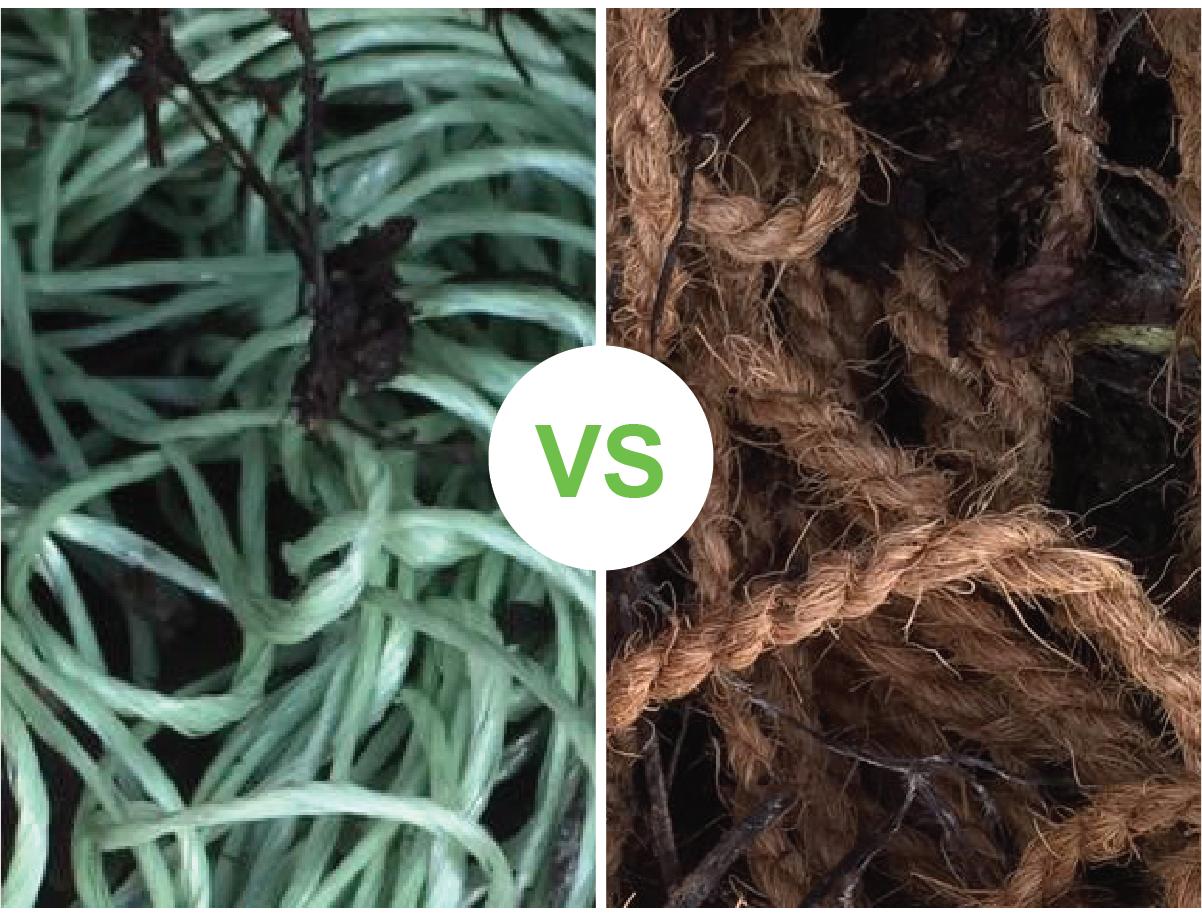
Day 1
Hop Compostable vs Coir
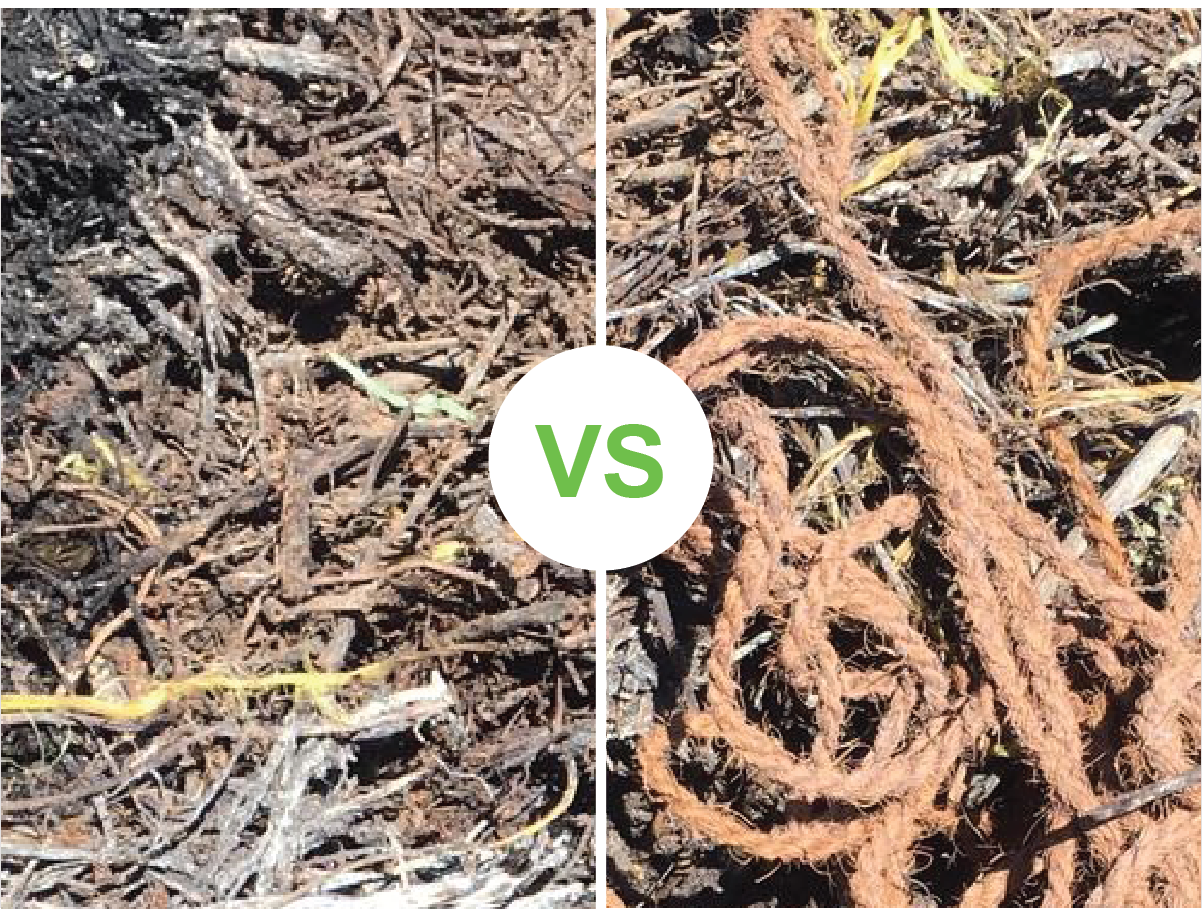
Day 59
Hop Compostable vs Coir
Cost for just the raw product in a ratio:
Plastic 1, Hop Compostable 2.8, Coir 3.3
Cost for application
Coir leaps ahead in labour expenses
Cost in composting system
Hop compostable wins hands down
3 Tips for Anyone Wanting to Start or Better Their Hop Composting System
Tip 1
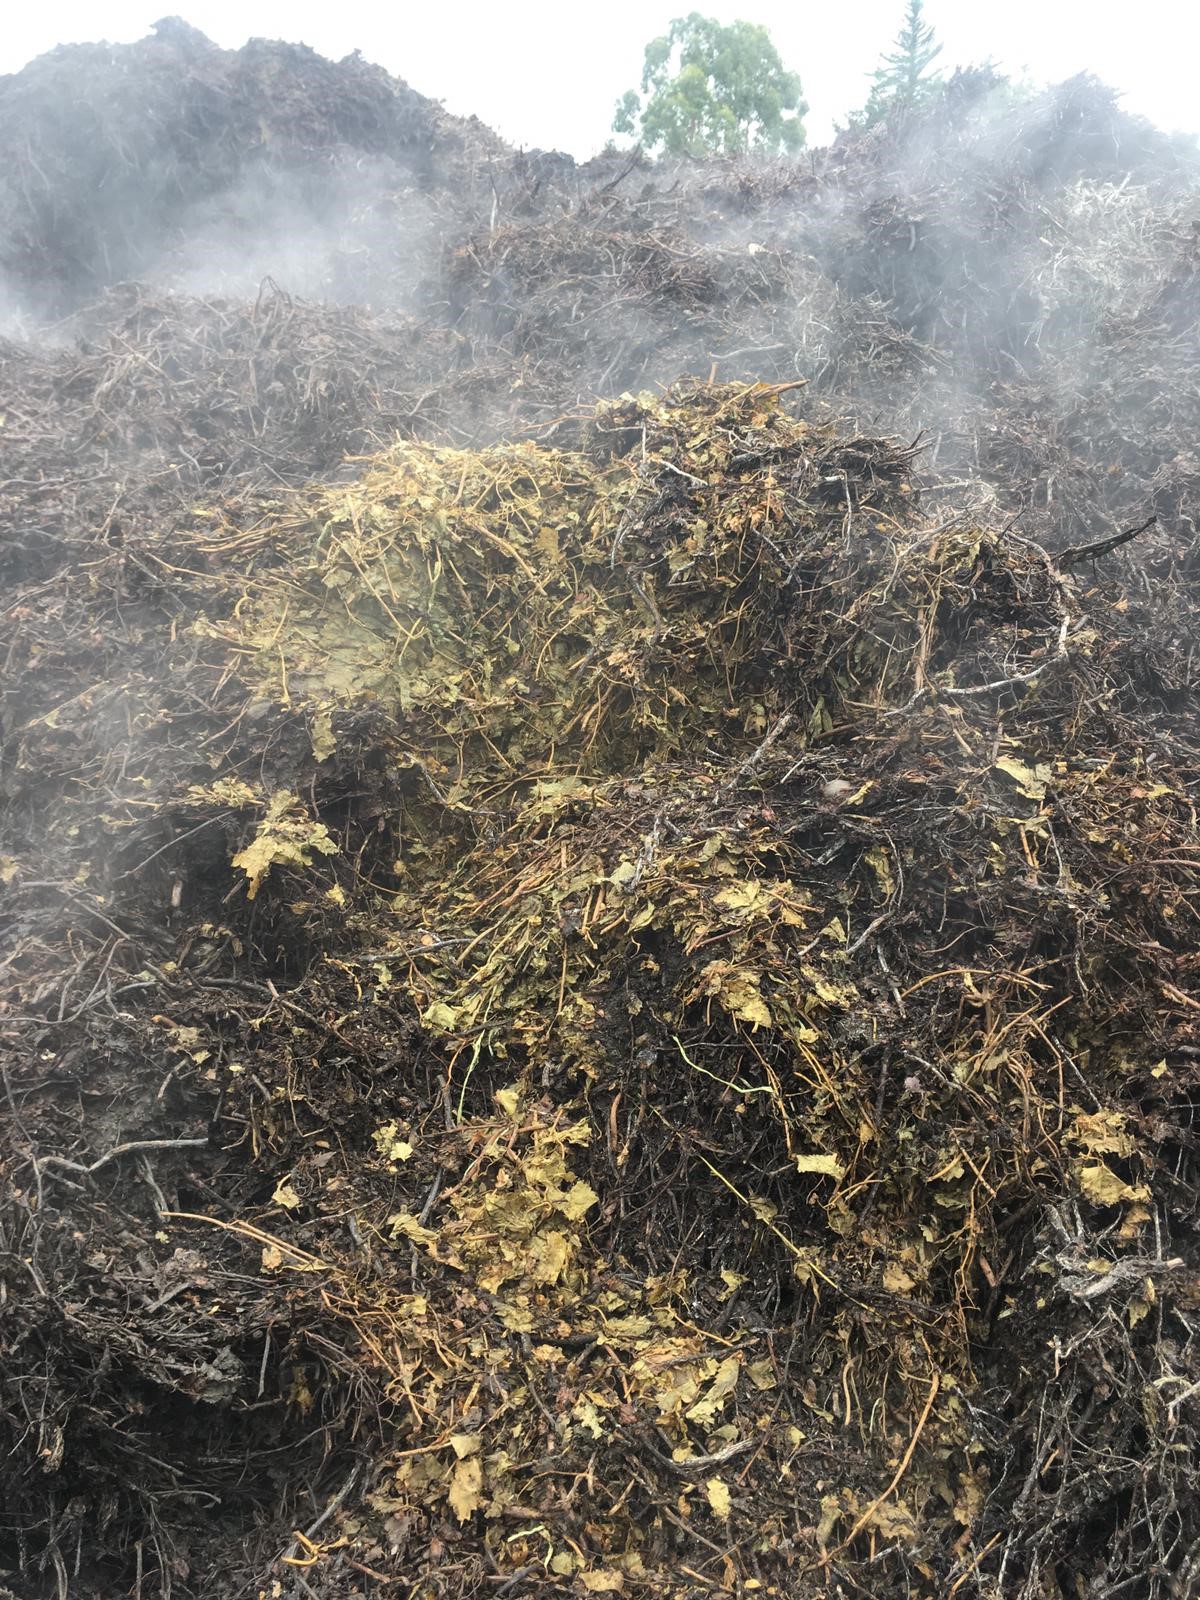
Use a guillotine type chopper as opposed to a rotary or shredder chopper. The guillotine style chopper cuts the bines into ‘straw’ lengths which shuts all the goodness in that part of the bine down into that length. Over in the compost pile, these ‘straw’ lengths allow for micro air pockets that maintain oxygen in the pile but still contain the heat and composting spores.
Tip 2
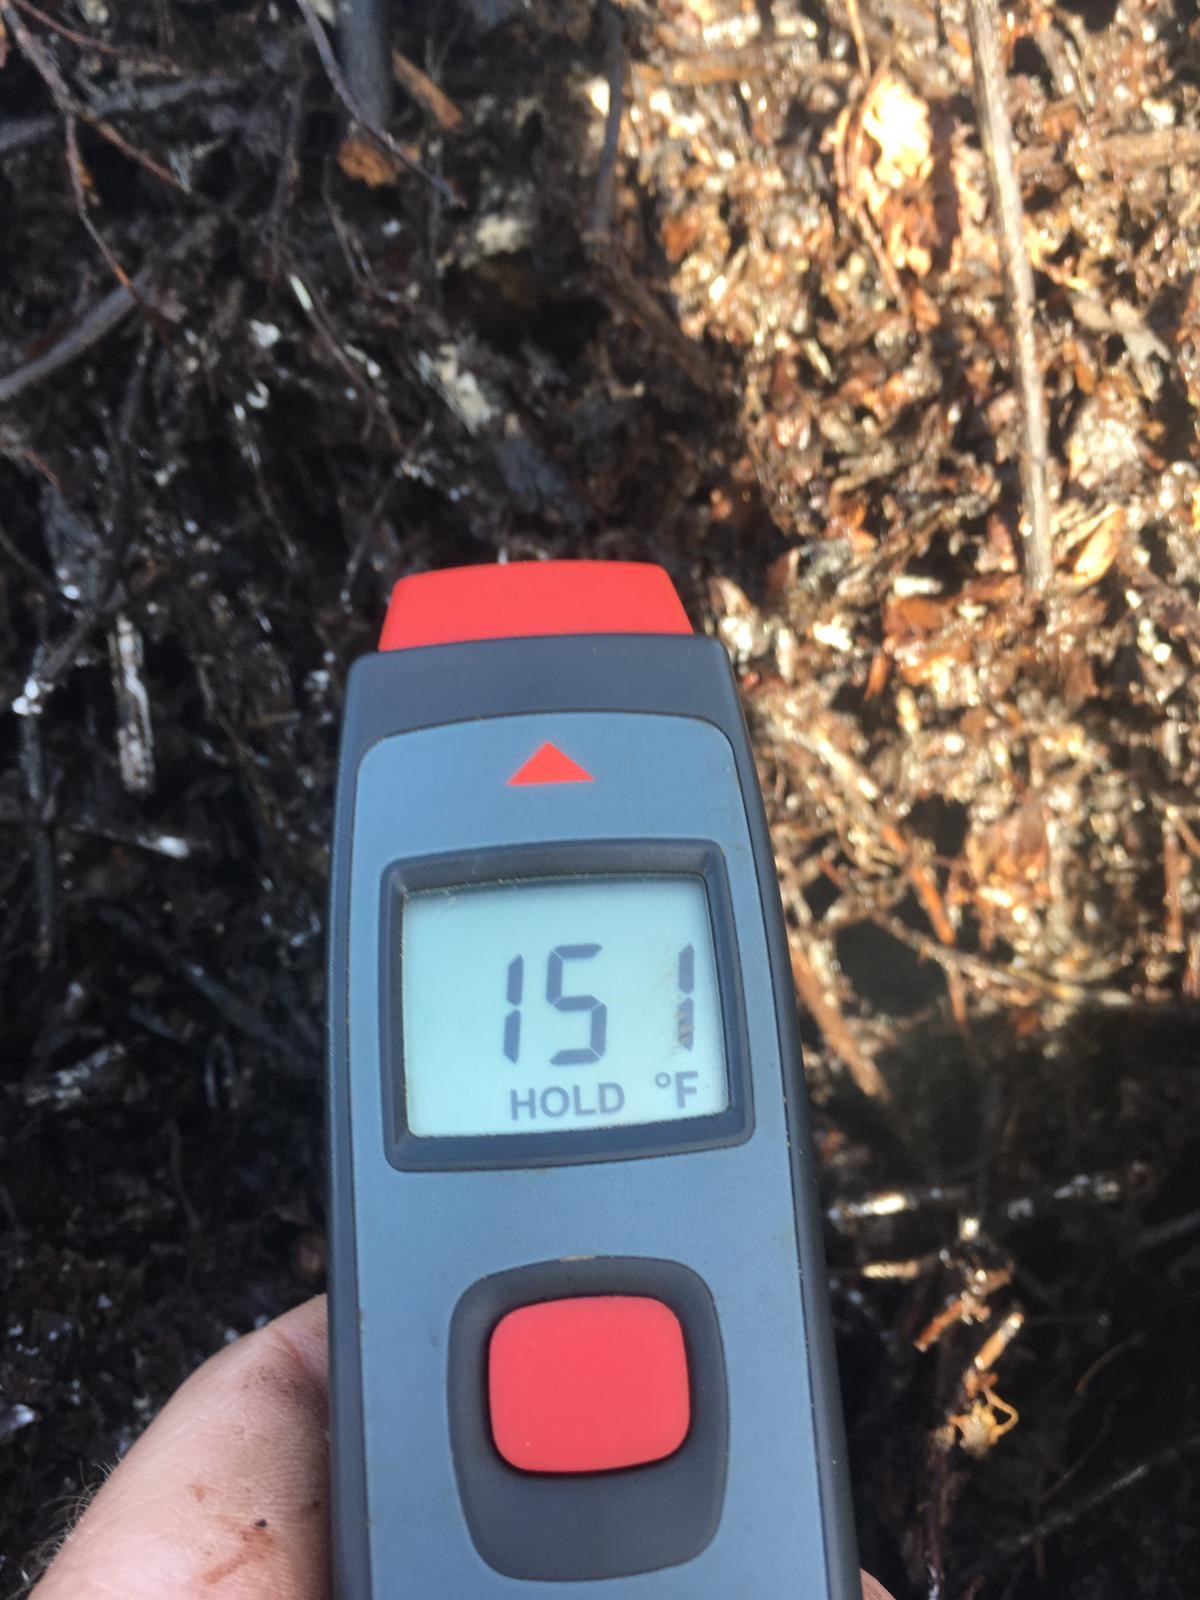
Store your hop compost in a high windrow type pile. This contains the heat as best as possible especially after harvest when you head into the winter months. It is vital that you keep the bulk of the pile as close to a composting temperature of 60-70⁰ C (140-158⁰ F) for as long as possible for rapid break down.
Tip 3
Turn your pile at least once within the first month of harvest and before the cold weather starts to set in. This helps aerate those locked-off oxygen areas and mixes the composting spores that have started. It will depend on the equipment you have and your farm size, but regular turning after that will help speed up your composting but you need to maintain that heat. Full breakdown (to become a soil type product) can happen within 12-18 months.
Summary:
Compost is a highly valuable resource, not a waste stream.
Many of our labor and product tracking systems utilize barcodes to track and trace. We often receive questions about whether 2nd Sight provides barcodes, or if there are required barcode specifications. In most cases, our software only requires a unique identifier. However, there are many types of barcodes and it can get overwhelming to choose. Each barcode serves a purpose. Here is a summary of the most common barcode formats and why one type may be better suited for a specific application.
1D Versus 2D
There are two main groups of barcodes, one-dimensional or “linear” and two-dimensional barcodes. A “1D” barcode is what you likely imagine when you hear the word “barcode”. The classic zebra stripe pattern encodes numbers (and in some cases letters and characters) that help identify a specific item or type of item. “2D” barcodes contain many small dots instead of bars and offer more storage potential and even better readability—regardless of printing size.
In specialty crop farming, 1D barcodes are often printed on apple and pear bin tags. The barcode provides a unique number that allows the packing house to identify various information about the crop. These bin tags offer an easy solution to start traceability in the field. When a grower can link the picker to the produce and provide a pick time and date, any issues that may arise down the supply chain can be traced back to the source so that other affected produce may also be identified quickly and accurately. Here are some examples of commonly used 1D barcodes.
UPC
Stands for:
Universal Product Code
Purpose:
Easily identify an object’s attributes, efficient product tracking
Benefits:
Widely used
Applications:
Retail point of sale scanning
Count:
UPC-A = 12 digits, UPC-E = 6 digits
EAN
Stands for:
European Article Number
Purpose:
Easily identify an object’s attributes, efficient product tracking
Benefits:
Suitable for small locations, fast-scanning
Applications:
Retail point of sale scanning
Count
EAN-13 = 13 digits, EAN-8 = 8 digits
Code128
Stands for:
Use all 128 characters of ASCII (character encoding set)
Purpose:
Encode large amounts of information (such as serial numbers)
Benefits:
Compact, high-density, supports digits, letters, and many characters
Applications:
Logistics, transportation, shipping, and tracking
Count:
Based on the application, size, and scanner capabilities
ITF
Stands for:
Interleaved 2 of 5
Purpose:
Label packaging materials (cardboard)
Benefits:
Self-checking code suitable for printing on product packaging
Limitations:
Can only encode numbers
Applications:
Many industries, product packaging
Count:
14 numeric digits
Code39
Stands for:
Code 3 of 9
Purpose:
Label goods
Benefits:
Utilize both digits and characters, readable by many scanners
Limitations:
Not suitable for small items
Applications:
Automotive, government, asset tracking
Count:
43 characters
2D barcodes are a newer category of barcodes that offer more data storage and increased readability to keep data scannable—even after being ripped or damaged. At 2nd Sight, we recently released a feature on our InstaCaliper and TallyTrak nursery inventory capture app that utilizes QR Codes to auto populate information. Typically, an operator would search through a drop-down menu to locate the correct field location, row number, and variety. Now, the nursery can follow a specific format to generate QR codes that store this information. The operator can scan the barcode to quickly populate the correct information, saving time and minimizing errors. Here are a few common 2D barcode types:
QR Codes
Stands for:
Quick Response
Purpose:
Encode a lot of information like web addresses (take a picture of the codes above)
Newer models of the 2nd Sight rugged handheld computer have built-in barcode readers that capture both 1D and 2D barcodes with a quick press of a button. In the reader configuration, a user can set the reader to register all common (and many uncommon) barcode types. Whether you print your own barcodes or purchase pre-printed barcodes, the first step is to determine if a 1D barcode will be able to hold all the required information. In many cases, a simple sting of numbers is enough to keep an item unique. We also recommend thinking of the proper material on which the barcode will be printed. In many cases, the barcode must be water-resistant, handle cold temperatures, and hold up to a bit of wear and tear.